Redlining
The Redlining feature allows you to review and approve document changes collaboratively. Instead of sending multiple document copies back and forth, all changes are tracked and saved in one central location.
Prerequisites
Before using the Redlining feature, ensure you have:
- AffableBPM Interface Software installed on your machine
- Microsoft Word installed locally on your machine
- Administrator privileges to install the software
To download the installer, go to Add-ons and click the Interface Software menu.

Installing the Interface Software
Follow these steps to install the Interface Software:
-
Download the software to your desktop or an easily accessible location
-
Double-click
AffableBPM_Core_Interface_Setup.msito start the installation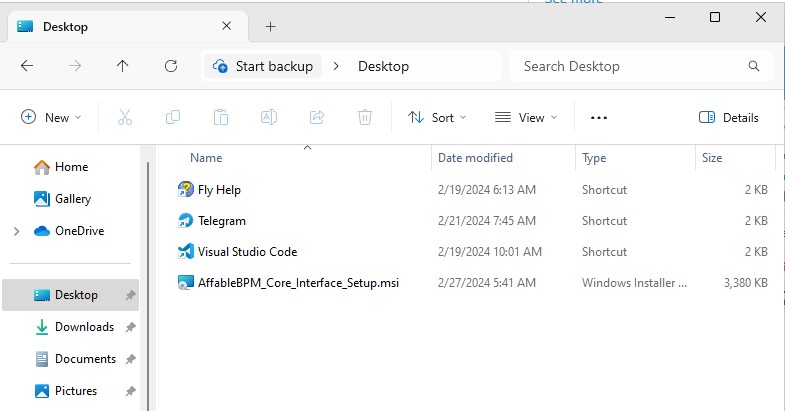
-
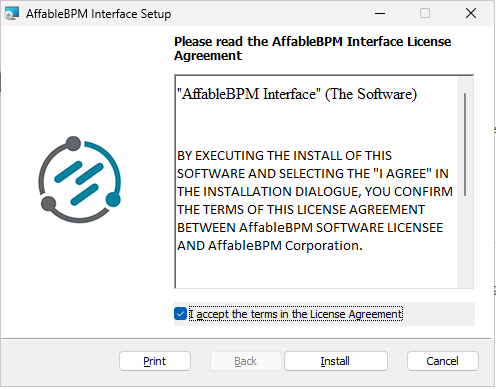
Check the License Agreement checkbox and click Install
-
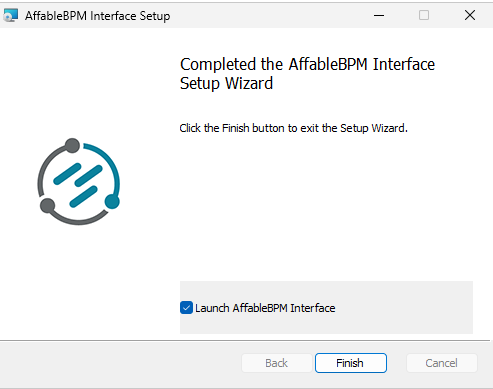
Check Launch AffableBPM Interface and click Finish
Verifying Installation
To verify the installation was successful, look for the Connected status below the User Menu bar.

Working with Documents
Understanding Check Out Status
Before you can redline a document, you need to "check it out". This is similar to taking a book from a library—only one person can check out a document at a time. This prevents multiple people from making conflicting changes simultaneously.
How to Check Out a Document
Method 1: Check Out Only
Use this method when you want to reserve the document but aren't ready to edit it yet:
-
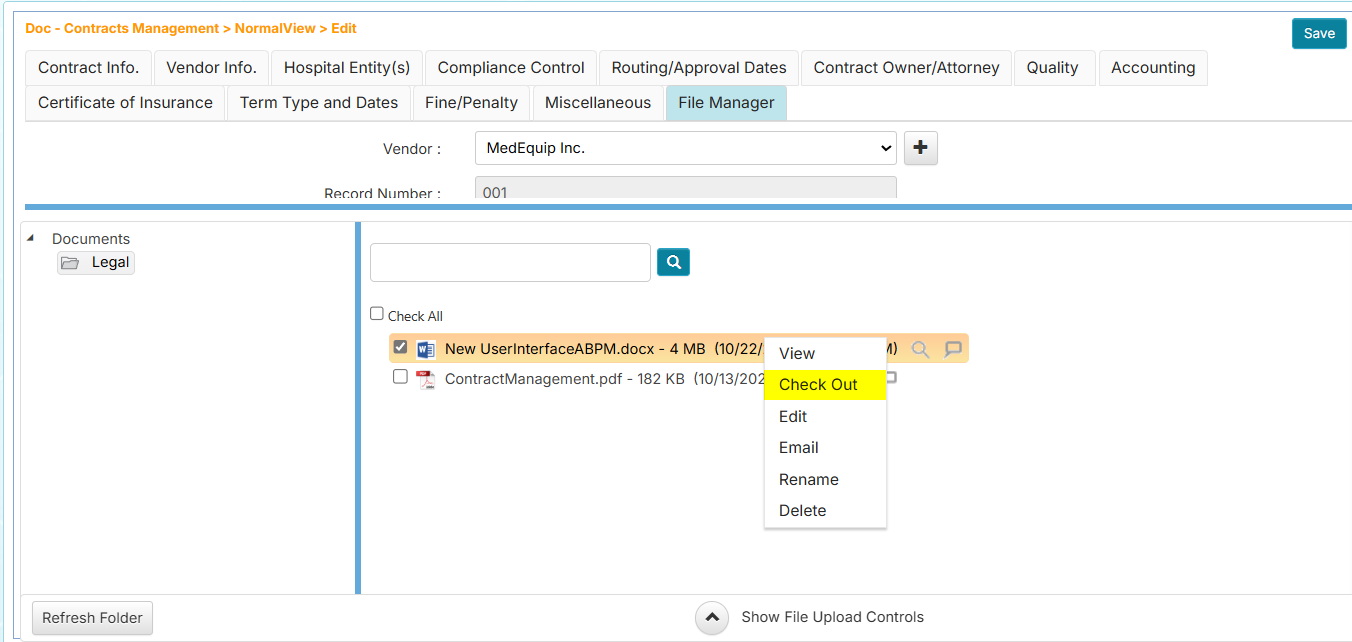
In the File Manager, right-click the document
-
Click Check Out
The document is now reserved for you and ready for editing.
Method 2: Check Out and Edit Immediately
Use this method when you're ready to start editing right away:
- In the File Manager, right-click the document
- Click Edit
- The document will download and open automatically in MS Word
- MS Word will open in Review mode, which tracks all your changes
- Make your edits, save the document, and close MS Word
Both methods check out the document to you. The Edit option simply opens it for you automatically.
How to Check In a Document
After you've finished editing and saved your changes in MS Word:
- In the File Manager, right-click your checked out document
- Click Check In
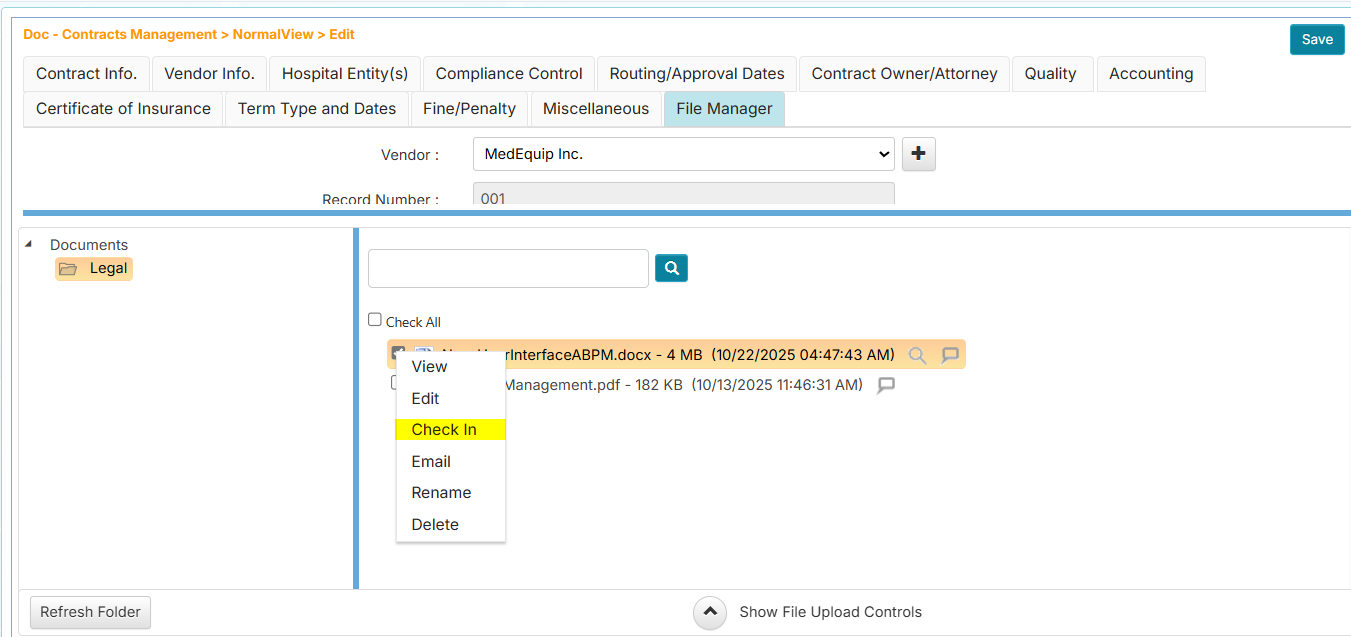
This saves your changes as a new document version and releases the document so others can access it.
The Check In option only appears for documents that have been modified. If you haven't made changes, you'll need to use Undo Check Out instead (see Document Manager section below).
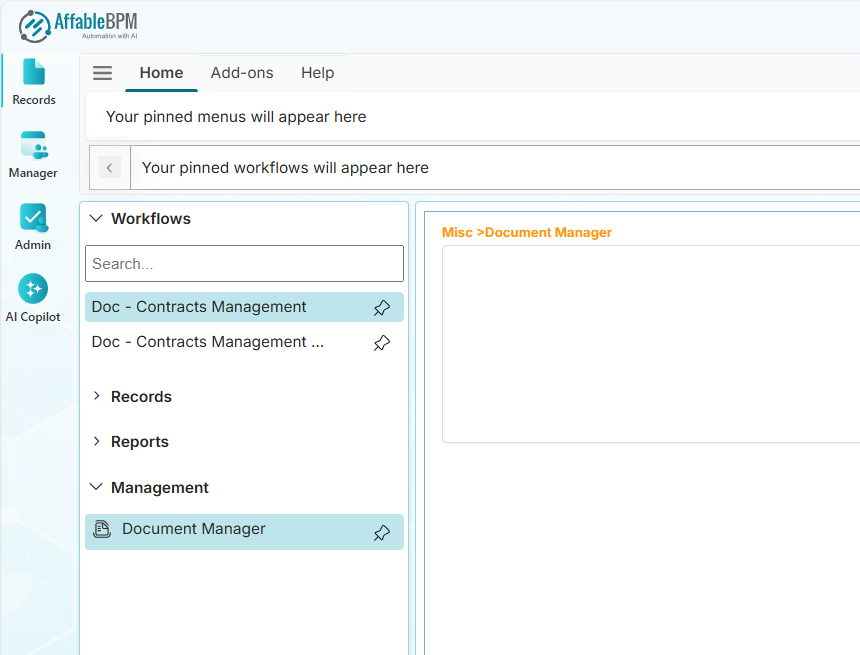
Using the Document Manager
The Document Manager shows all documents you currently have checked out. It's your personal workspace for managing documents you're working on.

Accessing the Document Manager
To view all your checked out documents, click the Document Manager from the Records > Management section.
Editing a Checked Out Document Again
If you need to make additional changes to a document you've already started editing:
- Right-click the document in the Document Manager
- Choose Edit
- The document will open in MS Word
- Make your changes, save, and close MS Word
Canceling a Check Out (Undo Check Out)
If you checked out a document by mistake or no longer need to edit it:
- Right-click the document in the Document Manager
- Choose Undo Check Out
This releases the document without saving any changes.
Finalizing Your Changes (Check In from Document Manager)
When you're done editing and ready to save your final version:
- Right-click the document in the Document Manager
- Choose Check In
The document will be removed from your Document Manager and saved as a new version in the File Manager, making it available to others.
Typical Workflow Example
Here's how a typical redlining session works:
- Find your document in the File Manager
- Check out and edit the document (it opens in MS Word in Review mode)
- Make your changes with change tracking active
- Save and close MS Word
- Check in the document from the File Manager to finalize your changes
The new version with your tracked changes is now saved and available to other team members.
Best Practices
- Always check in documents when you're finished editing so others can access them
- Use the Document Manager to keep track of all documents you have checked out
- Save your work in MS Word before closing to ensure changes are captured
- Check the Connected status regularly to ensure the Interface Software is running properly
- Don't leave documents checked out indefinitely—check them in or undo the check out when you're done
Troubleshooting
Problem: I can't check out a document
- Someone else may have it checked out.
Problem: I don't see the Check In option
- You may not have made any changes yet. If you want to release the document without changes, use Undo Check Out instead.
Problem: The document isn't opening in MS Word
- Verify that the status shows Connected below the Routing Inbox.
- Ensure MS Word is installed on your machine.
- Try restarting the AffableBPM Interface Software.