Global Fields
Global Fields are customizable dropdown fields that can be shared across different workflows. You only need to define a global field once, and then you can reuse it in multiple workflows. For example, you can create a global vendor dropdown field and use it in contract management, compliance management, or procurement management workflows.
On This Page
The Global Fields management area has two main sections:
- Global Fields - Create and configure global fields.
- Manage Entries - Manage the dropdown entries for global fields.
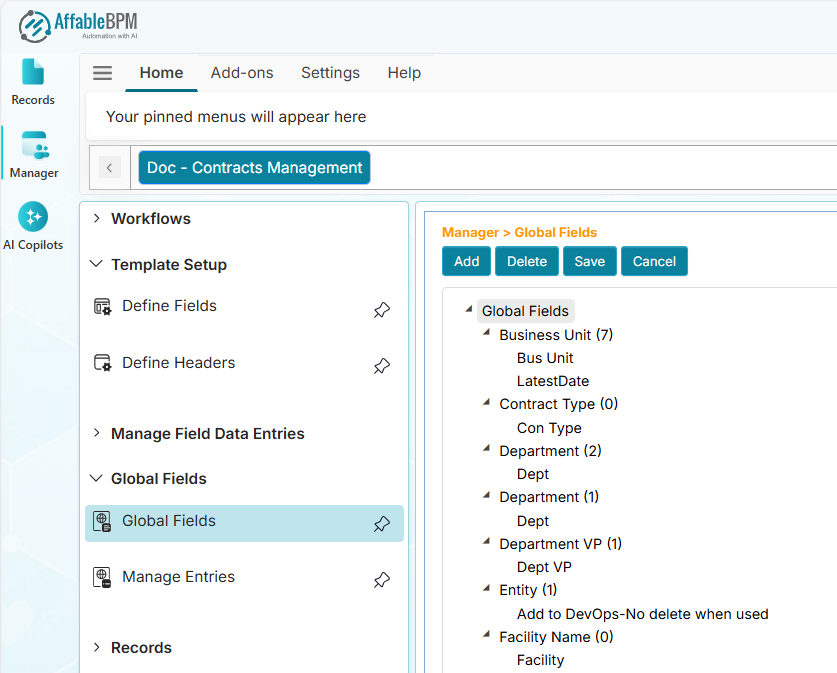
Global Fields
The Global Fields menu allows you to create, configure, and manage reusable dropdown fields. On the Global Fields page, the left side lists field names and their subfields, while the right side displays their property settings.
- Each global field has a number suffix that indicates how many workflows are using it.
- You can only delete a global field if its count indicator is zero (0).
How to Add a Global Field
-
On the Global Fields page, click the root node.
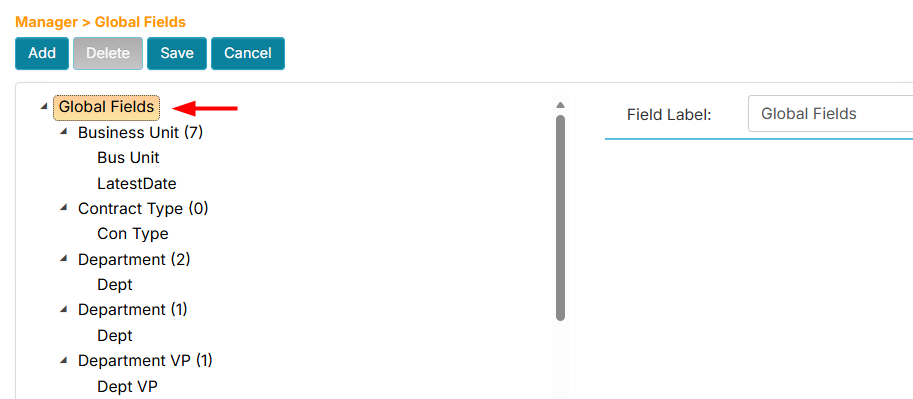
-
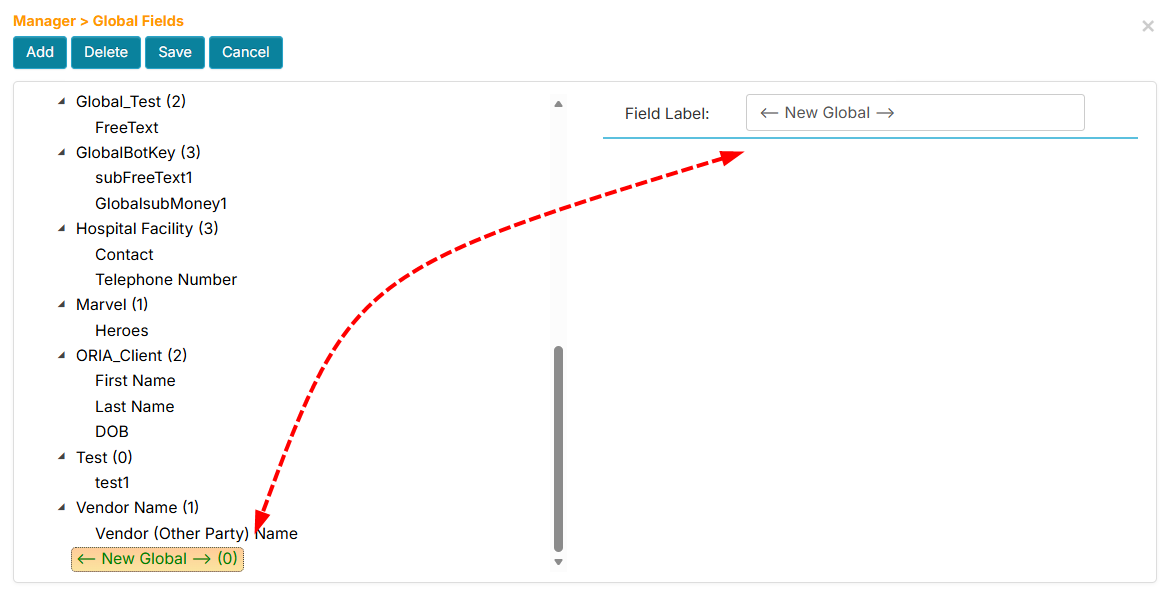
Click the Add button. A new field placeholder will be created at the bottom of the list.
-
Locate the new field placeholder and click it.
-
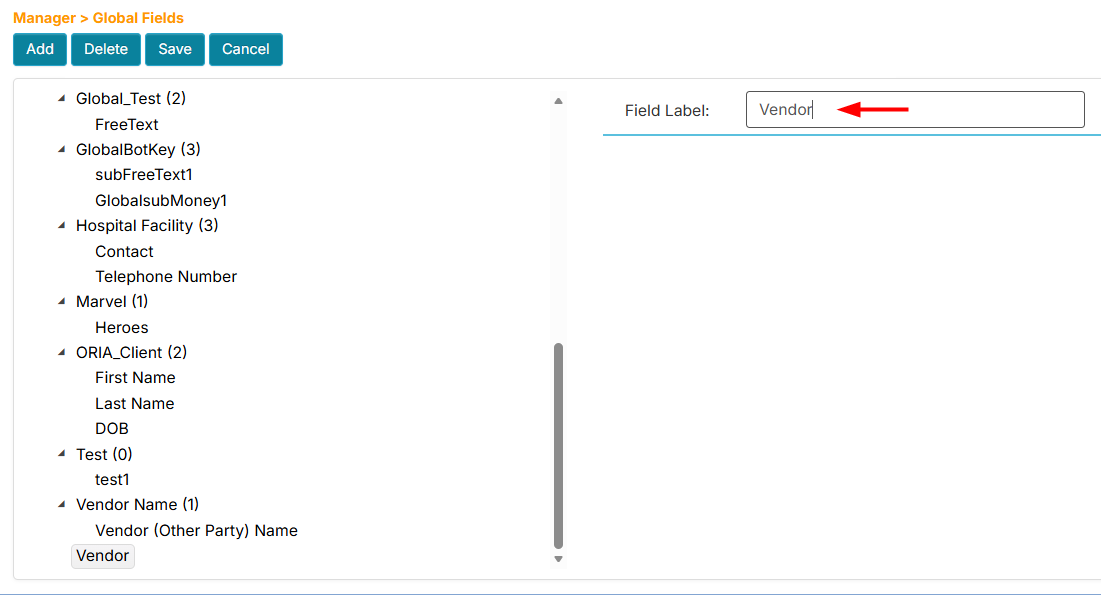
Click the Field Label box and enter a label.
-
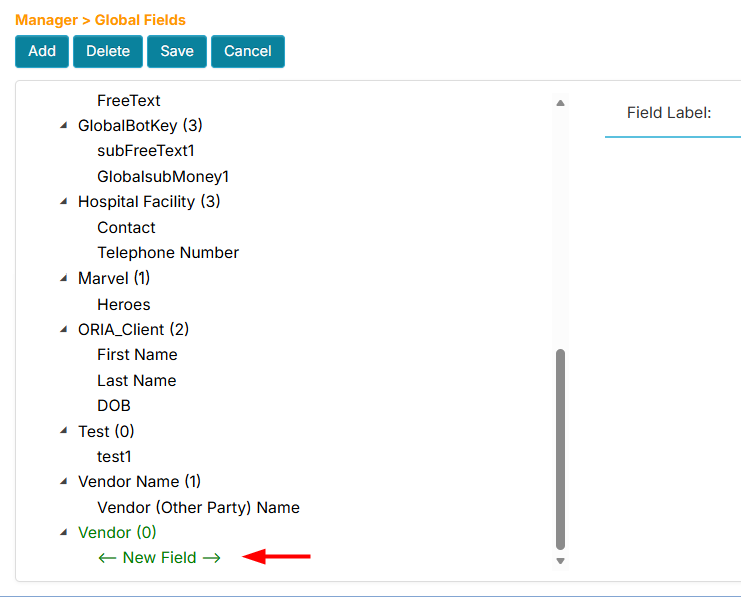
With the field selected, click the Add button again. A new subfield placeholder will be added below it.
-
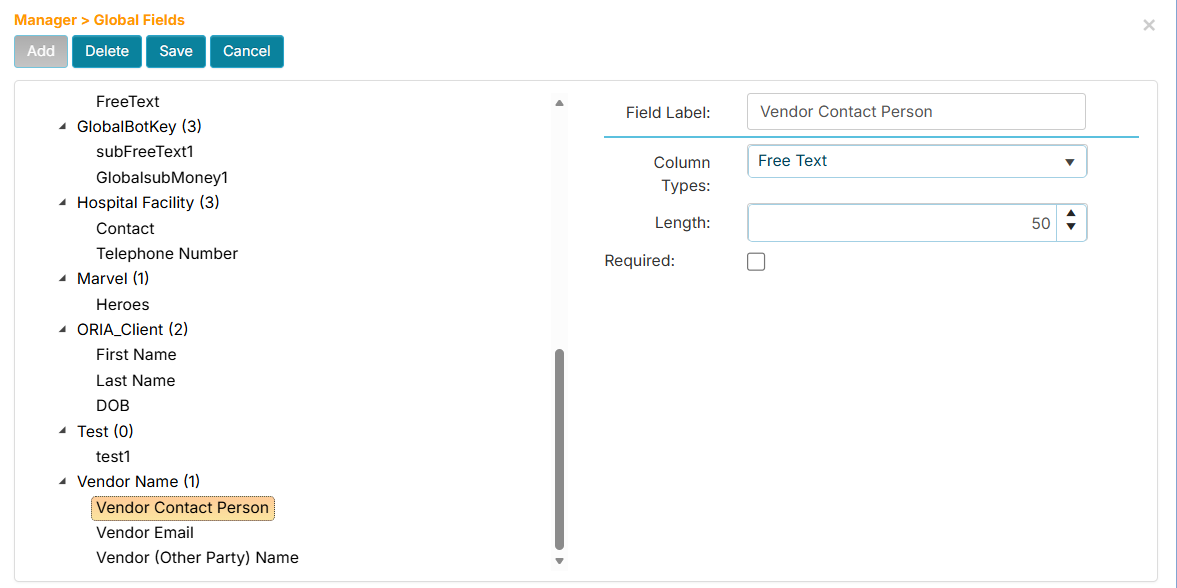
Click the subfield placeholder, then enter a label in its Field Label box.
-
Notice that the subfield now has the Column Type and Required properties.
-
In the Column Type dropdown, select the field type (e.g., Free Text).
-
Fill in the Length property for the Free Text type field (e.g., 50).

-
Check the Required checkbox if you want to require non-blank values during data entry.
-
Click the Save button. The page will update and sort the list of global fields.
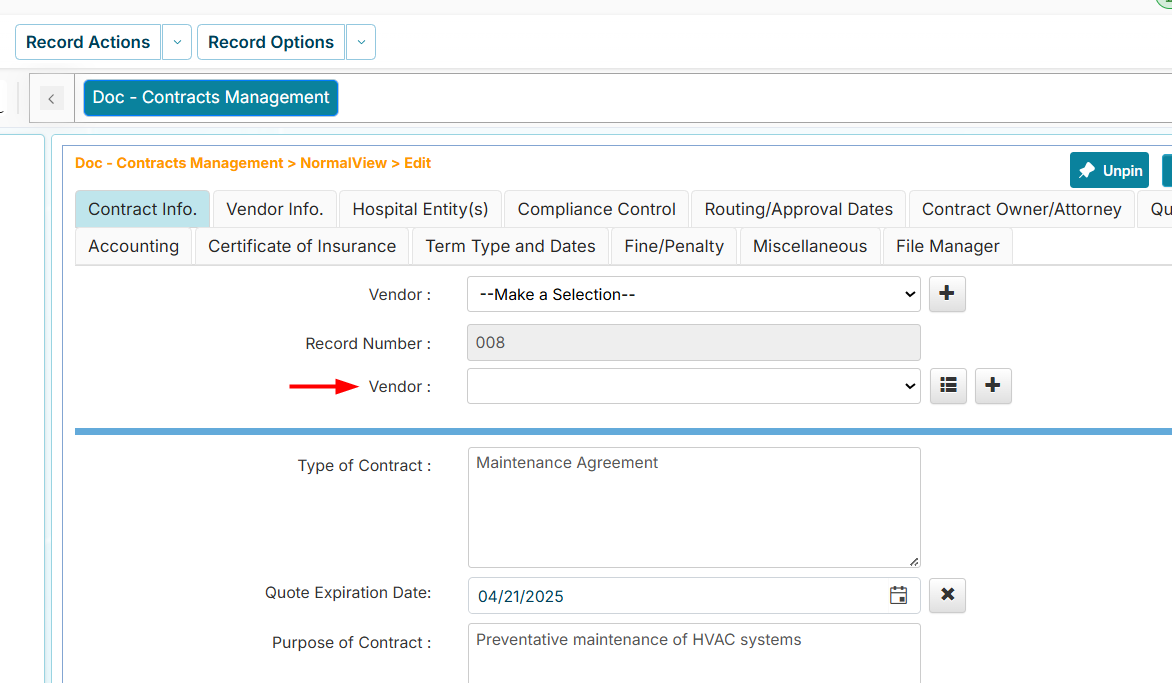
How to Use Global Fields in a Workflow
Once a global field is defined, it becomes available for use in multiple workflows.
-
Click Template Setup, then click Define Fields.
-
From the Workflows list, find and click your assigned workflow.
-
On the Define Fields page, click the parent node where you want to add the global field.
-
Click the Add button. A new field placeholder will be created.
-
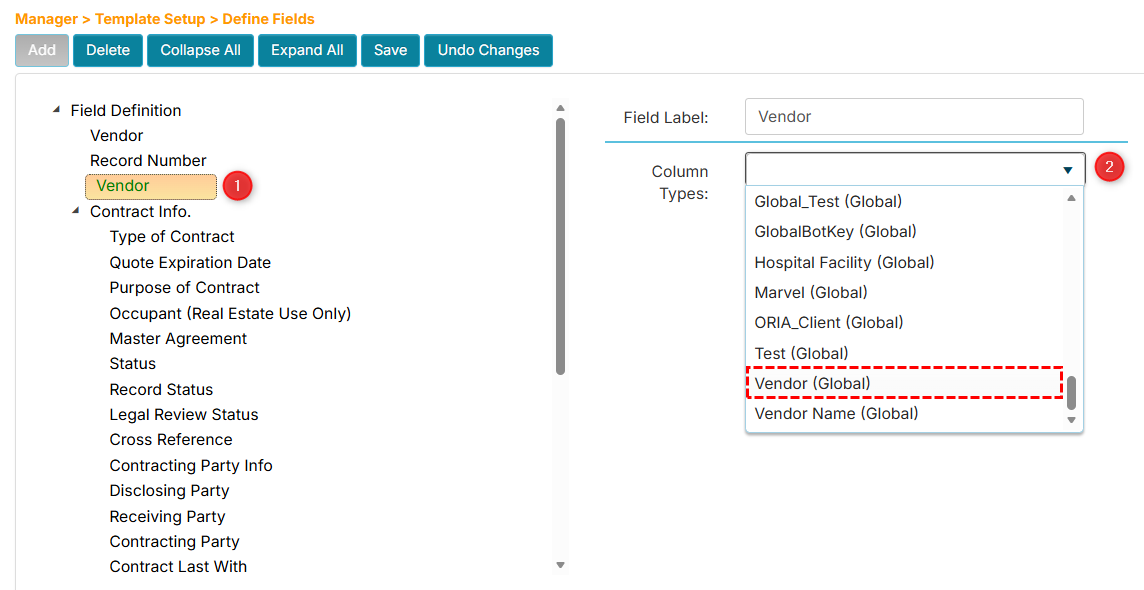
In the Field Label box on the right side, enter the name for the new field.
-
In the Column Type dropdown, find and select the global field. Global fields are typically listed at the end.
-
Click the Save button.
-
Navigate to any record in the workflow to see the new global field.
Manage Entries
The Manage Entries menu allows you to add, edit, and delete global field values.
How to Add a Global Field Entry
-
In the Field List panel, click the field for which you want to add a new entry.

-
Click the Add button. A window will appear for entering a new value.
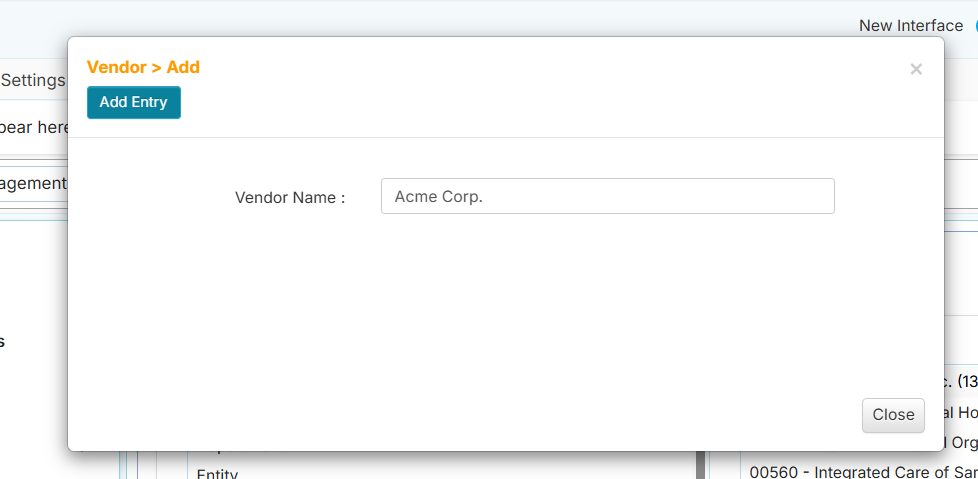
-
Enter the new value, then click the Add Entry button.
How to Edit a Global Field Entry
-
In the Field List panel, click the field that contains the value you want to edit.
-
From the Data Field Values list, click the value you want to change.
-
Click the Edit button. A window will appear to edit the value.
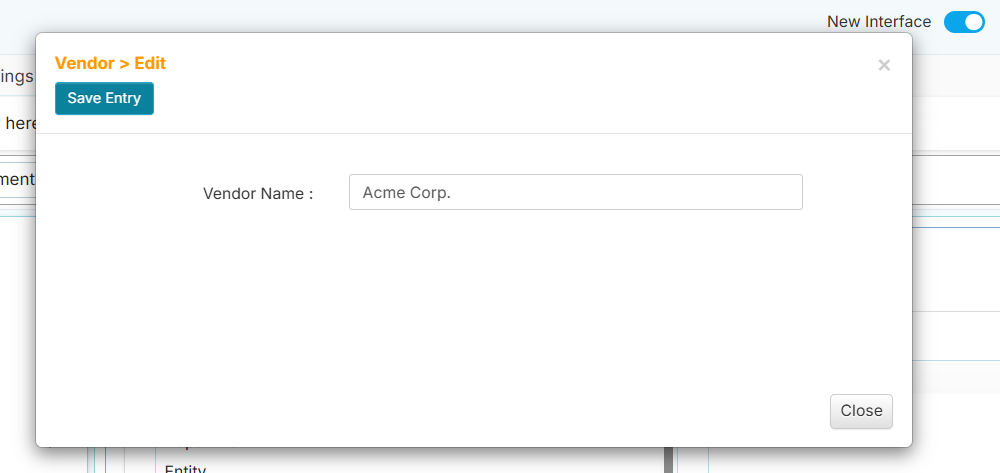
-
Enter the new value, then click the Save Entry button.
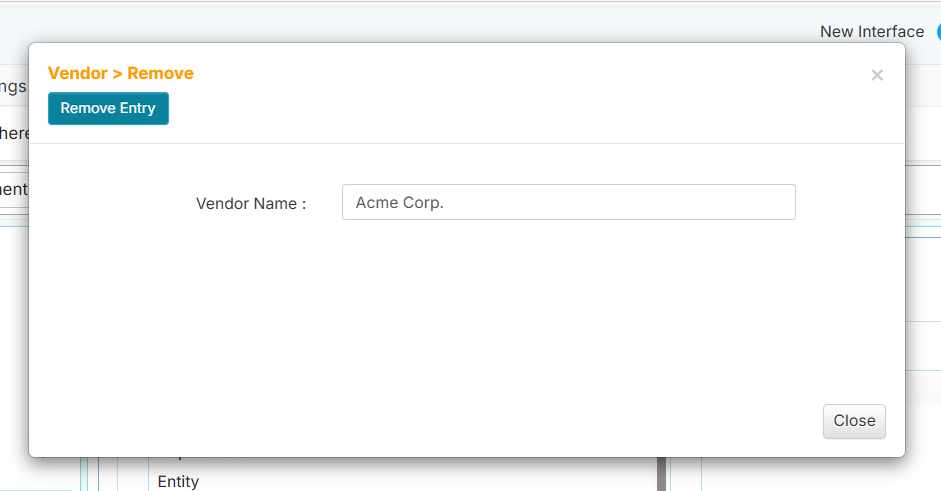
How to Delete a Global Field Entry
Only global field values with a count of zero (0) can be deleted.
-
In the Field List panel, click the field that contains the value you want to delete.
-
From the Data Field Values list, click the value you want to delete.
-
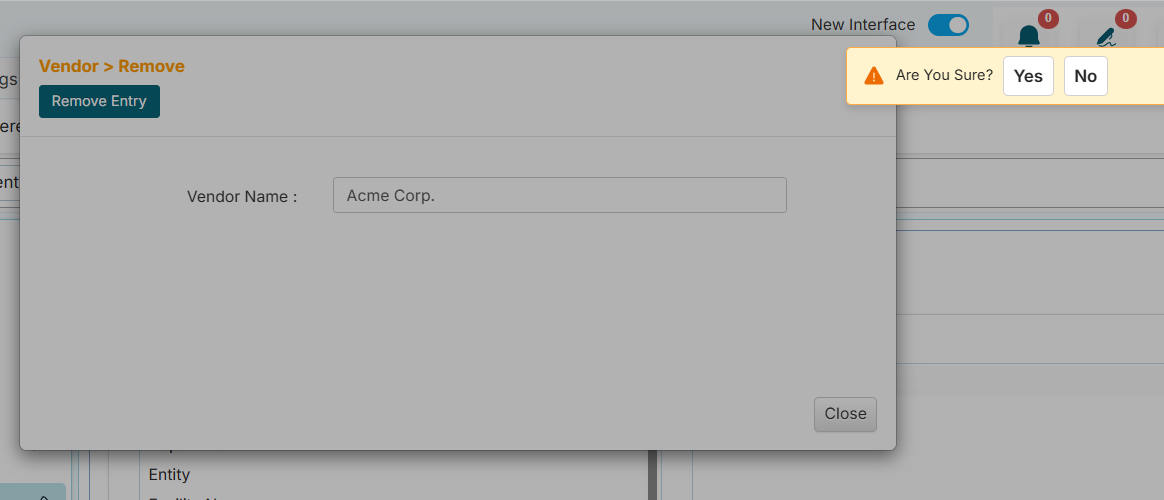
Click the Remove Entry button.
-
Click Yes in the confirmation message.